Making homemade vegan yogurt is easier than you think! Here are two tried-and-true methods for you!
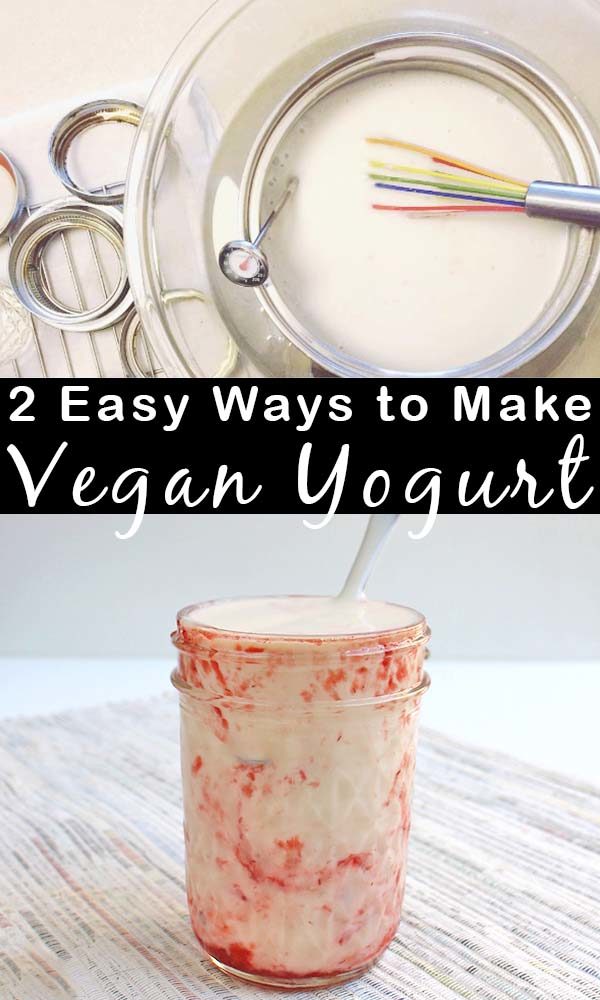
Before I made my own yogurt, it seemed like some level 7 kitchen nerd stuff. But you guys! Fermenting your own homemade vegan yogurt is so, so easy! The good bacteria do most of the work. The hardest part for me is waiting while they do their thing.
Related: Cilantro-Lime Vegan Crema
This first method is how I make soy yogurt at home in my Instant Pot Duo. The Instant Pot has a Yogurt button, and making yogurt is basically as easy as pressing that button. One important note: I have only had success with this recipe using soy milk with no additives. I’ve tried other store-bought soy and almond milks, and they’ve all ended in disaster. Follow the simple instructions below carefully, though, and revel in homemade vegan yogurt success!

One other note: My soy yogurt recipe doesn’t use any thickeners or gums. That means it’s going to be thinner than store-bought. I don’t mind this texture, but you can thicken your homemade vegan yogurt by straining it through cheesecloth.
Instant Pot Soy Yogurt
Yield: 2 pints of soy yogurt
Ingredients
- 1 32 ounce box soy milk (Choose a brand that’s ONLY soybeans and water – see above.)
- 2 tablespoons plain vegan yogurt of your choice (Don’t worry – the small amount of gums in this won’t mess with the final yogurt’s texture!)
Method
- Divide the soy milk between two wide mouth pint jars. Add a tablespoon of yogurt into each jar, stirring well.
- Carefully place the jars into the bottom of your Instant Pot (not on the rack – for some reason, it won’t make yogurt if you do that). Lock the lid, make sure the vent is sealed, and press the Yogurt button. Set it for 14 hours.
- In the morning, you’ll have yogurt! Stir before serving, since it does tend to separate. Your soy yogurt will keep for about 5 days in the fridge.
Homemade Vegan Yogurt
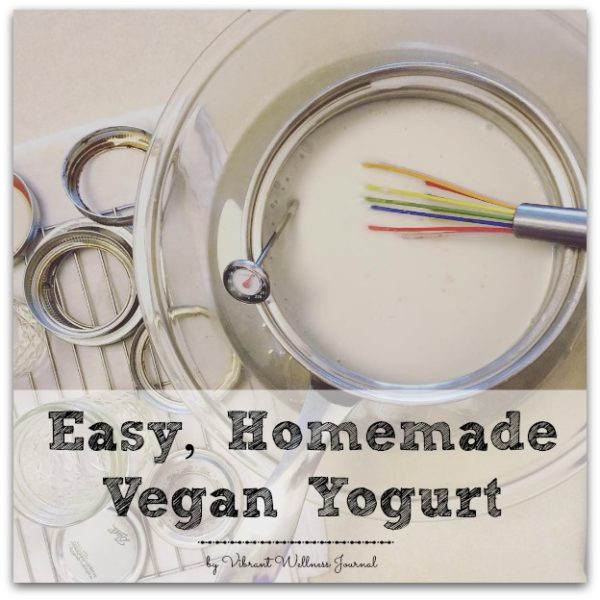
Andrea’s method, which she shared over at Vibrant Wellness Journal, doesn’t require any special equipment. Andrea says that she’s made her recipe with many types of unsweetened vegan milk: soy, cashew (both homemade and store-bought), and with full-fat canned coconut milk. She says that full fat coconut yields the creamiest results, but all of these turned out great.
Yield: 5-6 half-pint jars
Ingredients
- 4 cups unsweetened, plant-based milk
- 3/4 teaspoon agar-agar powder OR 1 tablespoon agar flakes (note differing directions below)
- 3 tablespoons potato starch
- 1/2 cup store-bought or previously made coconut yogurt
Method
- First, sanitize your jars to get your good bacteria off to a head start: add all canning jars and lids to a large stockpot. Cover with water, and bring to a boil. Lower heat, but keep at a medium boil for five minutes. Turn off heat, but leave jars in water until ready to use.
- If using agar powder: Whisk 1/2 cup of milk with starch and agar powder until smooth. Add mix to a medium saucepan with 2 more cups of milk. Heat on low until temperature reaches 180ºF, whisking constantly. Mixture will thicken considerably. Proceed to step 4.
- If using agar flakes: Add 2 cups milk to a medium saucepan. Heat over medium-low until flakes have totally dissolved (this helps ensure even thickening, but the undissolved agar flakes will be chunky). Remove 1/2 cup of warmed milk and stir with starch in a small bowl until starch has dissolved. Add back to saucepan, and cook together until mixture has thickened.
- Meanwhile, fill a large glass bowl with cold water and ice cubes to create an ice bath.
- Once cooking mixture is thickened (and agar flakes have dissolved), whisk in remaining 2 cups coconut milk.
- Place saucepan in the bowl of cold water and ice. Let the milk cool to 115ºF, stirring constantly. Stir in prepared yogurt and whisk until smooth. Remove saucepan from the ice bath.
- Remove jars carefully from water using tongs and place onto a dishtowel or cutting board (keep hot jars off of cold countertops for safety).
- Pour milk mixture into jars evenly and cover with lids and bands. Wrap each jar individually with kitchen towels (or similar) and place onto a cookie sheet or baking pan (whatever size that fits, I can usually fit all into a 8×8 baking dish).
- Place all wrapped jars into the oven and turn the light on, which is just enough heat to incubate your cultures. Keep in the oven for 8 hours.
- After 8 hours, check your yogurt– it should be slightly tangy and noticeably thicker. If it does not seem tangy enough, keep in oven for another 2-3 hours, checking every hour or so. Once fully cultured, unwrap the jars and move them to the fridge. I find that the finished yogurt lasts for over a week. Remember to save half of your final jar to use as the starter for your next batch!
