Growing vegetables from seed for your edible garden is a lot of fun and not hard to do if you keep in mind a few basics. Why go through the effort? There are lots of reasons, but my top reason is that I enjoy it: seeds are beautiful and mysterious and I love the process of nurturing them through their stages of growth. Second, I can grow heirlooms that are only available as seed, third, I can grow a larger quantity of plants economically, and in waves through the season.
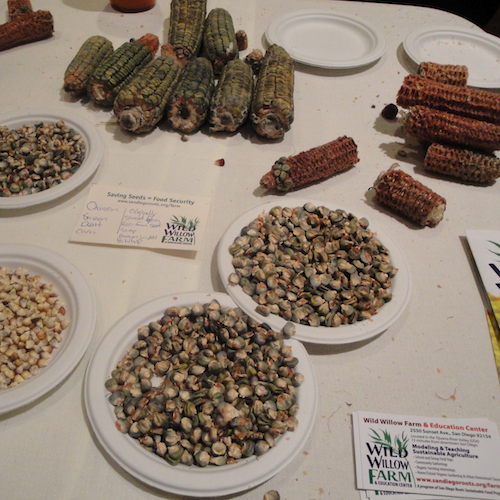
It’s magical to propagate your favorite seeds successfully for generations! Just give it a try…
Sowing Seeds in Flats Versus Direct Seeding
There are a couple of practical reasons for sowing seeds in flats or pots before putting them directly in the ground: you can start them earlier indoors so that they have a head-start by the time it’s warm enough that they can be planted outdoors (tomatoes, squash, cucumber- the summer heat loving vegetables) and better survivability. When I sow seeds directly in the garden they have a bigger chance of drying out or getting munched on by critters.
How to Start
If you are new to growing from seed, I recommend starting with two or three vegetables or flowers to get a feel for it so you aren’t overwhelmed. Once the seeds begin to germinate you can’t forget about them- if they dry out they’ll die, and you’ll need to start over. Most seeds take about 7 to 10 days to germinate, and some take longer.
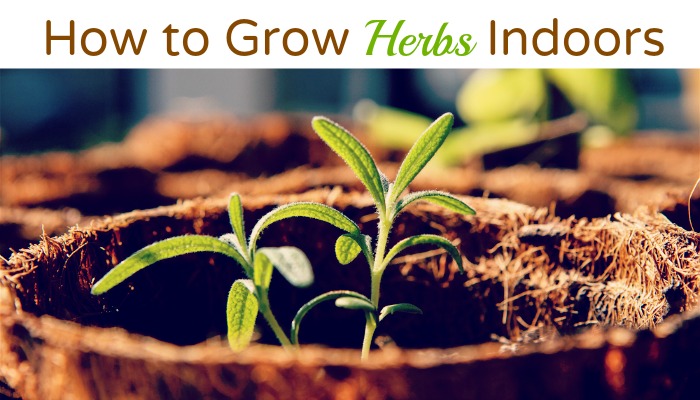
It helps if they are indoors where you’ll be reminded to check them. As the season warms up you can keep your newly sown flats or pots outdoors.
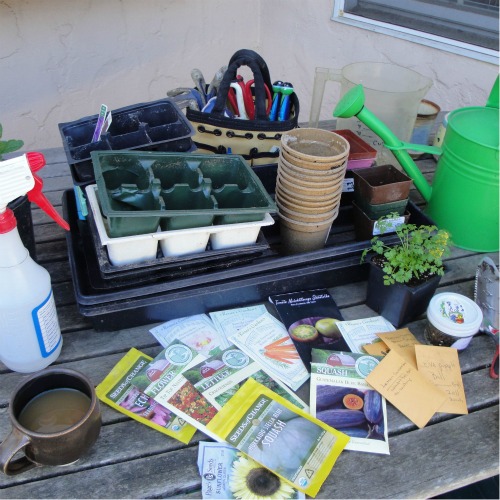 Basic seed sowing equipment
Basic Equipment
Potting soil (you can mix your own, it’s easier to buy a big bag, premixed).
Labels, pencil, pen, or marker.
Flats or small pots, reused six-packs from buying seedlings (or other containers, such as waxed paper cups- but these need drainage holes).
Bucket or plastic container for mixing soil with water.
Spray bottle for water.
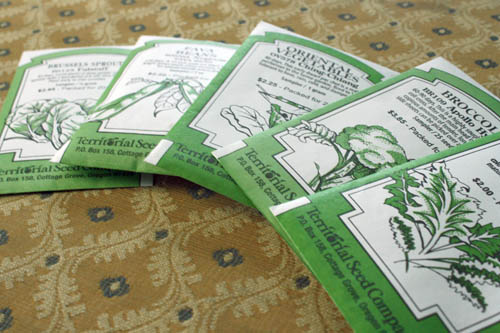
Seeds (there are several reputable organic suppliers).
Sowing Basics
Fill the Containers
Tip: I use a bucket to mix the potting soil with water to get it just damp before filling the potting containers. It’s much easier to start with damp soil than to try and water it thoroughly once you’ve planted your seeds- trust me!
Fill the containers and lightly firm the soil (soil should be about ½ inch from the top of the container). Don’t forget to label your pots.
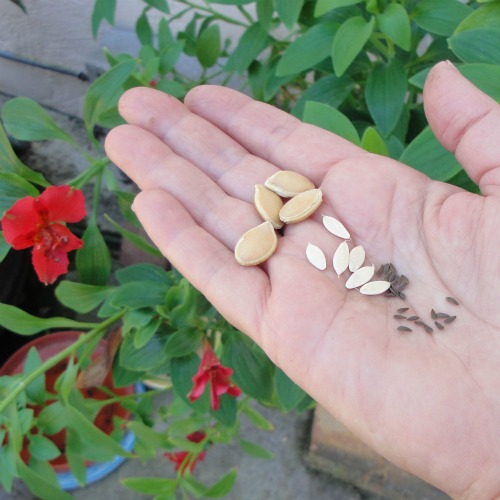 Squash, cucumber and lettuce seeds
Seed Size and Planting Depth
As you would guess, the sizes of seeds vary enormously from tiny lettuce or poppy seeds, to squash and bean seeds. Follow the instructions on the seed packet for the best chance of success.
Here are some general guidelines:
How deep to plant? For most seeds, plant as deep as the seed is wide (the width of the seed, not the length). So if a squash seed is ½ inch wide, it should be covered with ½ inch of soil. It is better to plant too shallow than too deep. When the seed germinates (sprouts) the embryo has just enough stored food to start poking out of the surface of the soil, and begin developing the leaves for photosynthesis, which will take over for food production. If it’s buried too deep it won’t make it to the surface. This is also why seeds don’t need fertilizer until thy begin developing leaves.
Small Seeds
For tiny seeds such as lettuce, sprinkle the seeds on the surface (a flat is great for this) then cover with a sprinkle of soil. Spray the surface down with a water in a spray bottle. Next, I cover the flat with one layer of newspaper, perlite, or a fabric called a floating row cover. The idea is to keep the soil moist but to let light in until the seeds sprout, then remove the cover.
Let There Be Light
Set the containers near a sunny window indoors in a warm spot. Once the seeds start to grow they’ll need 4 to 6 hours of light daily. For strong seedlings move them outdoors if the temperature permits (after your last expected frost date). Alternatives are to move them into a cold frame, or keep them inside under grow lights, available from your nursery or garden supply center. Otherwise you’ll have spindly weak seedlings.
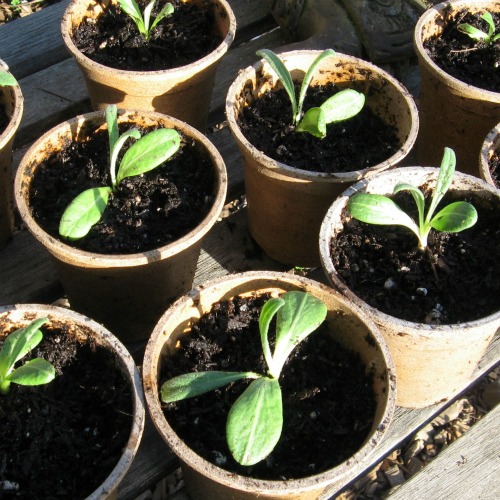
Transplanting Your Seedlings
For most seedlings, wait until the second pair of leaves form. If your seedlings are in a flat, transplant them to six packs or small pots to give them a chance to develop a healthy root system before planting out in the garden. When they’re ready to move outside, keep them in a protected area (a porch, etc.) for a few days so that they can adjust to outside temperatures before planting in the garden.
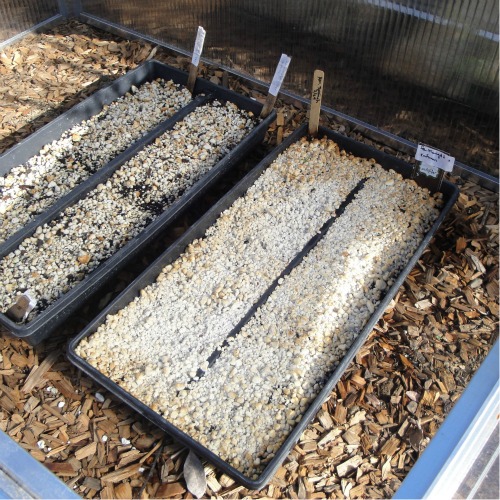 Flats of tomato and lettuce seeds covered with a layer of perlite
Remember:
1. Once the seeds are wet, don’t let them dry out- this is critical. Aim for even moisture when the seeds are germinating and have sprouted, but don’t let them sit soggy or they may rot (need adequate drainage).
2. Feeding the seedlings: fertilizer is not necessary until the leaves begin to grow. If you are going to transfer the seedling to a larger pot for more growth, you’ll need to give it nutrients.
For liquid fertilizer: use an organic dry fertilizer mix, such as, Dr. Earth, soak overnight in water (read the label- some are about 1 cup dry fertilizer to a gallon of water). You can also use a cup of mature compost from your compost pile to make a compost tea- this should soak about fours days in a gallon of water before you use it. It won’t be as nutrient-rich as the fertilizer mix, but it’s good for the seedlings in a pinch.
3. Seedlings need adequate light after the leaves begin to develop; move them a cold frame or hang lights directly over your containers about 18 inches high.
Now for the hard part: choosing just a few to grow from hundreds of possibilities!
Got a favorite heirloom to grow? I’d love to know…
Photos:Urban Artichoke